Where the Roof Meets the Wall, Two Trades Meet a Problem
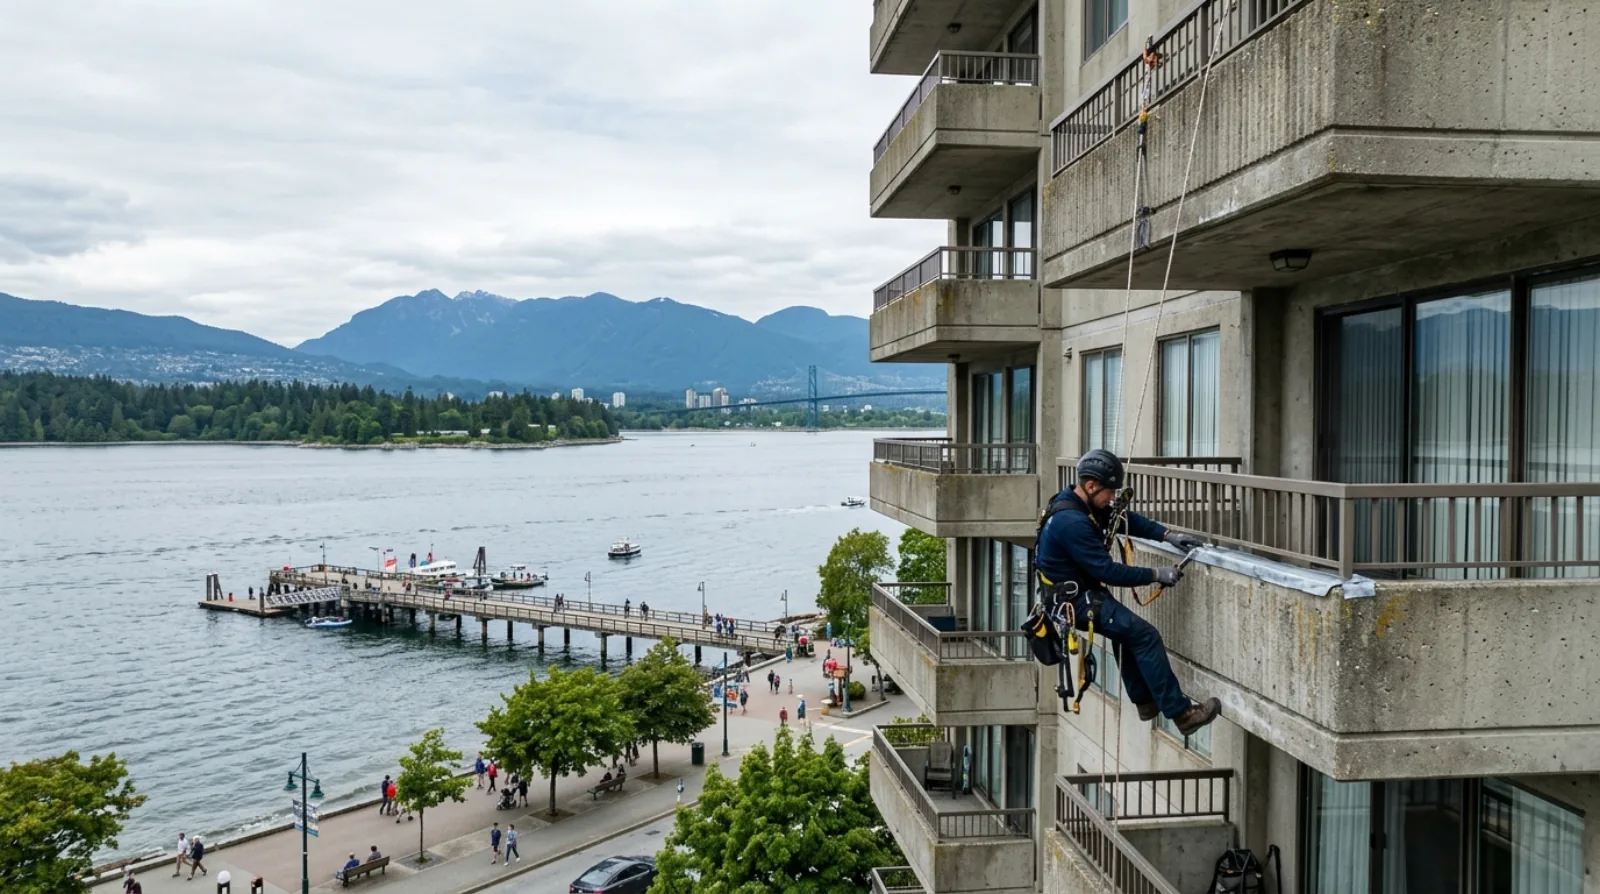
Ask who is responsible for the point where the roof membrane meets the wall, and on most buildings you will get a pause.
The roofer’s scope ends somewhere on that vertical surface. The wall contractor’s scope starts somewhere on it. Those two points are meant to overlap, and the overlap is meant to be built in a specific order, and neither party has full ownership of the result.
This is the most failure-prone detail on most buildings in this region, and the reason is organizational as much as technical.
The sequence that makes it work
A correct roof-to-wall junction is a series of overlapping components, each shedding water onto the one below.
Base flashing takes the roof waterproofing from horizontal to vertical. It is the membrane itself turned up the wall, or a compatible material bonded to it, and it must terminate above any water level the roof could plausibly reach. That includes water backed up behind a blocked drain, and water held by a snow pack of the kind described in the post on snow load and drift on flat roofs.
Counterflashing covers the top edge of the base flashing. It is metal, let into a reglet in the wall or attached to the wall above the upturn, and it extends down over the base flashing. Its job is to take water running down the wall face and direct it outward, over the top of the base flashing rather than behind it.
Where the wall is a cavity assembly, through-wall flashing intercepts water travelling inside the wall and discharges it to the exterior, so that water in the wall cannot bypass the roof detail from behind. The relationship between these layers is the same drainage logic set out in the guide on how a rainscreen works, applied at a junction.
Get the order right and every path leads outward. Break it at any point and you have built a funnel.
What goes wrong, in order of frequency
Sealant doing the counterflashing’s job. A bead of caulking along the top edge of a base flashing is the classic finding. It is a short-life material in a moving joint in an awkward location, and its presence almost always means the proper detail was never constructed. It will be resealed periodically for the life of the building, and it will leak between resealings.
An upturn that is too short. Frequently cut down to suit a door threshold, a finish level, or a cladding line. The detail works in ordinary rain and fails the first time water backs up on the roof, which is exactly when the building is least able to cope with a leak.
Missing or discontinuous counterflashing. Often present across the straight runs and absent at corners, at changes in height, and where it meets another component. Those are the places that need fabrication rather than a length of stock profile, and they are where workmanship varies most, for the reasons set out in the post on metal flashing detail failures.
Reverse laps. A component installed so that water runs behind the one below it rather than over it. This happens when the sequence of trades is out of order, and it is invisible once the assembly is complete.
No provision for movement. The roof deck and the wall move independently, particularly on longer runs and at building expansion joints. A rigid connection between them cracks, and the crack is at the junction.
The leak is never where the water entered
At this detail more than any other, the visible symptom is remote from the cause.
Water entering behind a base flashing runs down inside the wall assembly, or along the roof deck under the insulation, until something stops it. It emerges at a floor line, at a service penetration, at a window head, or at the underside of the deck several metres away.
That behaviour is described in the guide on why leaks show far from the source, and at a roof-to-wall junction it is close to universal. Buildings that repair to the location of the stain frequently pay twice: once for the wrong repair, and again for the right one after the leak returns.
The correlation worth recording is with wind direction. A junction leak that appears during storms from one direction and stays quiet in vertical rain is telling you which elevation to look at, which narrows the search considerably.
Inspecting the detail
This is a close-up inspection from the roof, along the whole run, not a sample at one convenient point.
The questions are simple. Is counterflashing present, and is it continuous through every corner and change in level? Is the base flashing upturn high enough, and is it still bonded to the wall along its full length? Are terminations at ends, corners, and transitions complete, or does the detail simply stop? Is there sealant, and if so, what is it doing?
Any sealant found at the top edge of a base flashing should be recorded as a defect rather than as maintenance, because it indicates the detail is depending on it.
On a roof with multiple levels, the junction between a lower roof and a higher wall deserves particular attention. That location combines the roof-to-wall detail with the drift accumulation and the highest water exposure on the roof, and it is where the consequences of a marginal detail arrive first.
Movement between two systems
A roof deck and a wall are separate structural elements, and they move independently.
Thermal expansion, structural deflection, and in a seismic region the differential movement between elements all act on the junction between them. A connection built rigidly across that interface has to accommodate the movement somewhere, and where it cannot, it cracks.
That is why the counterflashing overlaps the base flashing rather than being sealed to it. The overlap allows relative movement while maintaining the water shedding path. A detail where the two are bonded together into a single rigid assembly performs until the first significant movement and then splits at the strongest point.
The same logic governs where a building expansion joint crosses a roof-to-wall junction. That location needs a purpose-designed detail rather than a continuation of the standard one, and it is a frequent finding on buildings with recurring leaks at one specific point along an otherwise sound elevation.
Testing rather than guessing
Where a junction is suspected and the evidence is circumstantial, controlled water testing settles it.
The method isolates sections of the junction and wets them in sequence, starting low and working upward, with someone observing inside. Water applied only to the wall below the junction, then only to the base flashing, then over the counterflashing, identifies which element admits water rather than confirming that the general area leaks.
That sequence matters because a junction has several potential entry points within a short distance, and wetting the whole area at once tells you only that something in it is failing. The approach is set out in the post on field water testing to ASTM E1105.
The other useful technique on a roof is a flood test of the roof area adjacent to the junction, where the assembly permits it. A junction that stays dry under a flood test and leaks during wind-driven rain is telling you the entry is above the water line, in the wall or at the counterflashing rather than at the base flashing.
The scoping mistake to avoid
When a roof is replaced, the wall interface is frequently left as found. The new membrane is terminated into the existing base flashing arrangement, the existing counterflashing is reused, and the junction that was leaking before continues to leak.
The strata now has a new roof, a manufacturer’s warranty on the field, and the same water in the same suite. Both parties are within their contracts.
Any roof replacement scope on a building with a history of junction leaks should state explicitly that the roof-to-wall detail is included, that the counterflashing is renewed, and that the upturn height is brought to current guidance. That is a specification question rather than a construction one, and it belongs in the tender documents described in the post on envelope tender scope of work.
Low-rise buildings need this more than towers do, not less. They have more junctions per unit of roof area, with steps, dormers, and lower roofs meeting upper walls, and each one repeats the same detail with the same opportunities to get it wrong.
Sources and further reading
- Canadian Roofing Contractors Association, CRCA Roofing Specifications Manual, base flashing and counterflashing details, referenced 2026
- BC Housing, Building Enclosure Design Guide, roof-to-wall transitions, referenced 2026
- Sheet Metal and Air Conditioning Contractors’ National Association, Architectural Sheet Metal Manual, reglet and counterflashing standards, referenced 2026
- Allweathercoating leak investigation records, Metro Vancouver, 2026
Frequently Asked Questions
More from
Water in the Elevator Pit Is a Building Envelope Problem
The lowest point in the building collects whatever gets past the below-grade waterproofing. Elevator contractors can pump it out, but they cannot stop it arriving.
Read article →Field Water Testing: How to Prove Which Detail Is Actually Leaking
A leak shows up in a suite. Four trades each blame a different assembly. Controlled water testing settles it by wetting one detail at a time until the water comes through.
Read article →What Thermal Imaging Can and Cannot Tell You About Your Building
An infrared camera shows surface temperature, not moisture. Used properly it finds wet insulation and air leaks fast. Used badly it produces confident pictures of nothing.
Read article →