A Sealant Joint Fails Because of Its Shape, Not Its Brand
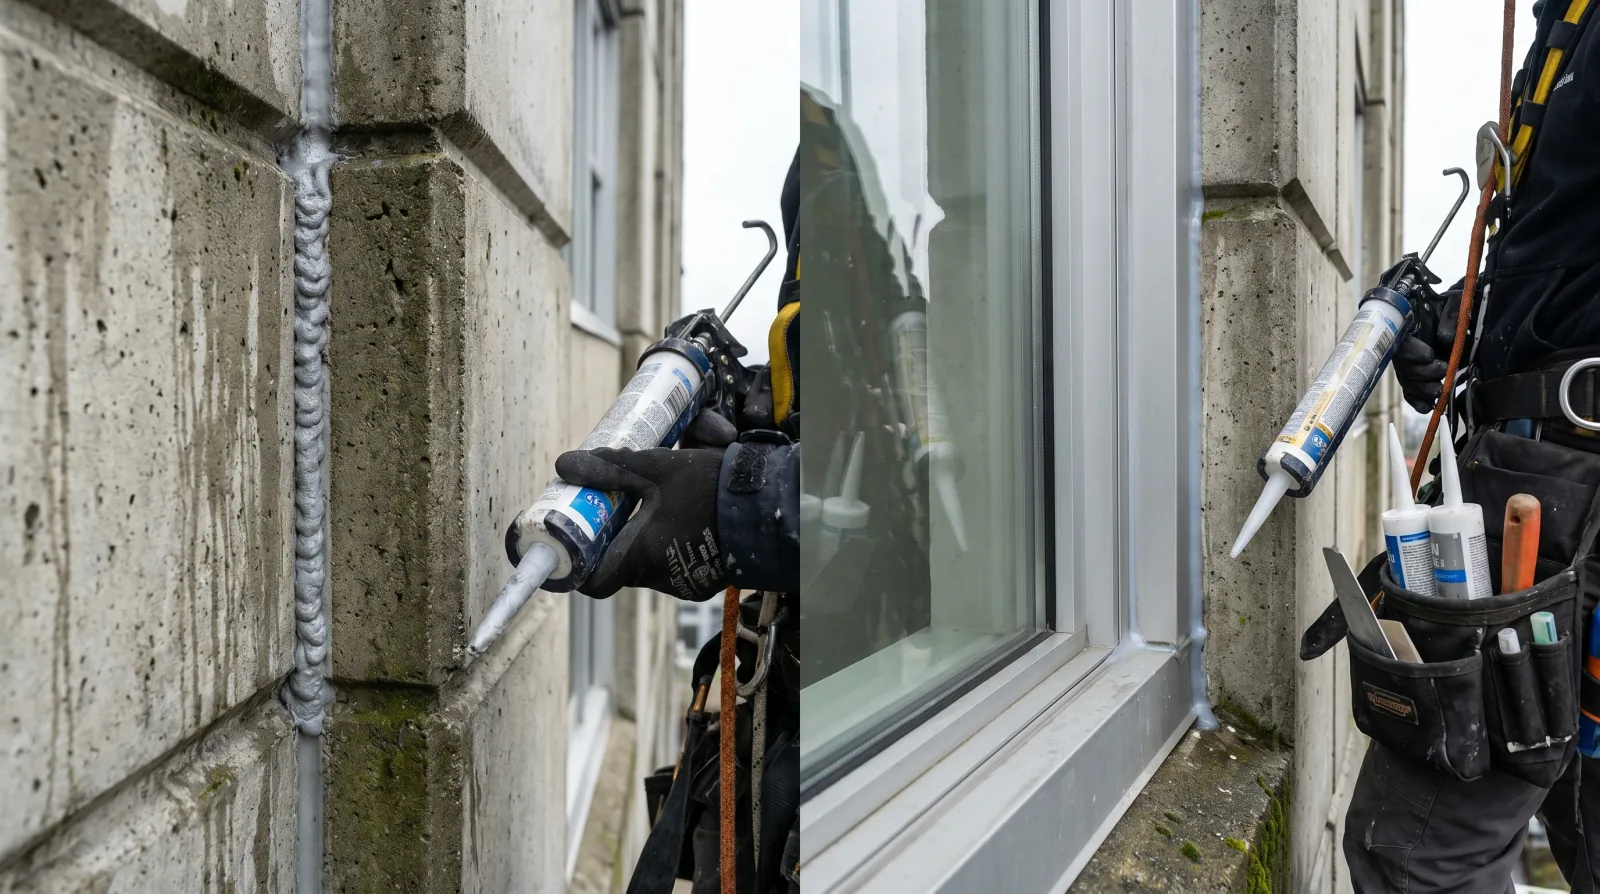
Two buildings on the same street get recaulked in the same year by different contractors, both using a well-regarded polyurethane sealant. Five years later one set of joints is performing and the other has been failing since year three.
The product was the same. The specification named the same movement capability. The difference was in the shape of the joint the sealant was placed into, and almost nobody looked at that.
Sealant works by deforming
A sealant joint exists because two building elements move relative to each other. Concrete panels expand in the sun and contract at night. Frames move differently from the walls around them. The joint absorbs that movement, and the sealant has to stretch and compress with it, thousands of times, for years.
Its ability to do that is a function of geometry as much as chemistry.
The target for most moving joints is a bead roughly twice as wide as it is deep. That proportion allows the sealant to deform across its thickness when the joint opens, distributing strain through the material rather than concentrating it.
More sealant makes it worse
This is the counterintuitive part, and it is the reason so many joints fail early.
A deeper bead has more material. It looks more substantial, it feels like better value, and it is markedly worse at its job. A thick section cannot deform easily. When the joint opens, the sealant develops high internal stress instead of stretching, and it tears through its middle or pulls away from a face.
Filling a joint solid with sealant is therefore one of the most reliable ways to make it fail early, and it is done routinely, with good intentions, by people who believe they are being thorough.
Backer rod earns its place
Backer rod is a foam cylinder pressed into the joint before the sealant. It costs very little and it does three separate jobs.
It sets the depth, so the sealant cannot be applied thicker than the design intends.
It shapes the bead, creating the concave hourglass profile that performs best under movement, thinner in the middle where deformation is greatest and thicker at the bonded edges.
And it prevents the sealant from bonding to the back of the joint.
That third function is the one that matters most and is understood least.
Three-sided adhesion tears joints apart
When sealant bonds to both joint faces and to the back of the joint, it is anchored on three surfaces. It can no longer stretch freely between two of them.
As the joint opens, the material is pulled in a way it was never designed to handle, and it tears. The failure looks like a product defect and it is a detailing defect.
Bond breaker tape does the same job as backer rod where the joint is too shallow for rod, and either one is required wherever the back of the joint would otherwise be a bonding surface. Both are frequently skipped on repair work in this region, and the joints fail within a few years while the manufacturer’s warranty on the sealant remains technically intact.
Width matters as much as depth
Sealant movement capability is expressed as a percentage of joint width. A product rated for a given percentage of movement can accommodate that proportion of however wide the joint is.
So a narrow joint carrying the same absolute movement as a wide one is being stretched much further in relative terms, and it can exceed the product’s capability while the wide joint is comfortable.
That is why joint width is a design decision rather than whatever gap happens to exist. On new work the joints are sized for the expected movement. On restoration work, where the joint width is inherited, it constrains which products are suitable, and sometimes the honest answer is that the joint has to be widened.
Preparation, priming, and tooling
Three execution items decide whether a correctly designed joint performs.
Preparation. Old sealant comes out completely, and the joint faces are cleaned to sound substrate. New sealant applied over old is bonded to the material that already failed, which is the shortcut described in the post on caulking removal versus cap bead. A cap bead has legitimate limited uses and it is not a restoration.
Priming. Whether a primer is required depends on the sealant and the substrate, and the manufacturer specifies it. It is an extra step with a wait time attached, which is exactly why it gets skipped, and the consequence is adhesive failure a few years later on a job that looked perfect at handover.
Tooling. Pressing and shaping the bead after application forces the sealant into contact with the joint faces, eliminates voids, and creates the concave profile. An untooled bead can look neat and have poor contact with the substrate behind it. Tooling is the difference between a bead sitting in a joint and a bead bonded to it.
Whether preparation and priming were done correctly is verified by the field adhesion testing described in the post on sealant adhesion field pull testing, which is worth building into any large recaulking contract as a quality check.
Different joints have different jobs
Not every joint on a building is a moving joint, and treating them all identically produces both over-specification and failures.
Expansion and control joints are designed to accommodate structural movement and they see the largest movement on the building. They need the geometry, the backing, and the movement capability discussed above, and they are where product selection matters most.
Perimeter joints at windows and doors accommodate differential movement between the frame and the wall. The movement is smaller than at an expansion joint and the substrates are usually dissimilar, so adhesion to both materials is the governing concern rather than raw movement capability.
Panel joints between precast or cladding units move with thermal cycling. On a large panel on a south elevation that movement is substantial, and joint width was set during construction and cannot be changed.
Weatherseal joints at flashings, terminations, and small transitions see little movement and mostly need durability and adhesion.
A specification that names one product for all of them is convenient and it will over-perform in some locations and under-perform in others. The tender should identify the joint types and the requirements for each, which is what allows a bidder to price the work properly.
Access determines the real cost
On a tower, the sealant is a small proportion of the project cost. Getting a technician to each joint is most of it.
That has two consequences worth planning around. Doing all the joints on an elevation at once is far more economical than returning for the ones that were missed, which argues for a complete survey before the work rather than during it. And bundling other at-height work into the same setup, including the penetration detailing covered in the post on mechanical penetration sealing and the drip edge work in the post on balcony slab edge details, materially improves the value of the mobilization.
It also means a cheap product is a false economy. The material cost difference between an adequate sealant and a high-performance one is small against the cost of reaching the joint, and the difference in service life determines when you have to reach it again.
Reading a failed joint
The failure mode tells you what went wrong, and it should be recorded before the joint is cut out.
Sealant that has pulled away cleanly from one face, leaving that face bare, is adhesive failure. The causes are surface preparation, missing primer, moisture on the substrate at application, or a substrate the product does not bond to.
Sealant that has split down its middle while remaining attached to both faces is cohesive failure. That points to geometry: a bead too deep, a joint too narrow for the movement, or three-sided adhesion.
The two need different responses. Recaulking a building the same way it was caulked last time, without establishing which failure occurred, produces the same outcome on the same schedule. The product choice discussed in the post on silicone versus polyurethane sealants matters, and it only matters once the joint is shaped to let the product work.
Sources and further reading
- ASTM International, ASTM C1193 Standard Guide for Use of Joint Sealants, joint design and backing provisions, referenced 2026
- ASTM International, ASTM C1521 Standard Practice for Evaluating Adhesion of Installed Weatherproofing Sealant Joints, referenced 2026
- BC Housing, Building Enclosure Design Guide, sealant joint detailing, referenced 2026
- Allweathercoating sealant restoration records, Metro Vancouver, 2026
Frequently Asked Questions
More from Sealant & Caulking Guide
Every Vent, Pipe, and Conduit Is a Hole Somebody Made Later
A wall is designed as a continuous system and then trades cut through it for decades. Each penetration is a detail, and most of them were never detailed at all.
Read article →Resealing Windows Buys Time. It Does Not Fix a Failed Window
Two Vancouver towers with the same leak symptom need opposite answers. One needs a caulking programme, the other needs new windows, and the difference is in where the water enters.
Read article →Storefront Glazing: Why Ground-Floor Retail Leaks Differently
A storefront takes splash from the sidewalk, door slams all day, and pressure washing at street level. Its sealant fails faster than anything higher up the building.
Read article →